Are you new to Docker and Docker Compose? There probably isn’t an easier place to start Dockerizing than with a single-service project that builds with Yarn. Whether you have a specific project in mind or just want to practice your Docker skills, this guide will give you a quick rundown on getting a Yarn app off the ground and into a container.
What is Yarn?
Yarn is a package manager for Node.js. Yarn is an acronym for “Yet another resource negotiator”. It’s a popular option for JavaScript projects, second only in popularity to the seemingly-ubiquitous npm.
Fun (tangential) fact: according to npm’s GitHub repo:
- Contrary to popular belief,
npmis not in fact an acronym for “Node Package Manager”; It is a recursive bacronymic abbreviation for “npm is not an acronym”
Running yarn init will get you set up with a pre-configured JSON to start building a Yarn project. You can add dependencies to your project via yarn add [dependency].
Like many package managers, Yarn generates and maintains a “lockfile” called yarn.lock, in which it keeps track of dependencies by version (and their dependencies by version). This way, if your project works at a certain point in time on a particular machine, this state will be preserved.
If you have an existing Yarn project with a package.json file, you can get all dependencies installed with yarn install and you can get it running in a development environment with yarn dev.
Why run a Yarn project in Docker?
One of the (countless) benefits of Docker is that it helps you develop your application to be highly portable (via version control). But doesn’t Yarn essentially do the same thing? While Yarn is great for setting up and running an existing project in just two commands, Docker can take your project even further.
If you want to cloud-host your project, you’ll typically need it containerized. The great thing about Docker containers is that they can be used throughout every stage of development, from local to production. You can also distribute your Docker image so others can run it instantly without any installation or building.
At the very least, if you’re including a Dockerfile with your project, you can ensure it builds and runs identically every single time, on every system.
Writing the Dockerfile for a Yarn project
A simple project that builds with Yarn can be translated into Docker pretty easily. You’ll follow the classic Dockerfile structure (set the base image, set the working directory, etc.) and then modify it with the project-specific installation instructions, likely found in the README.
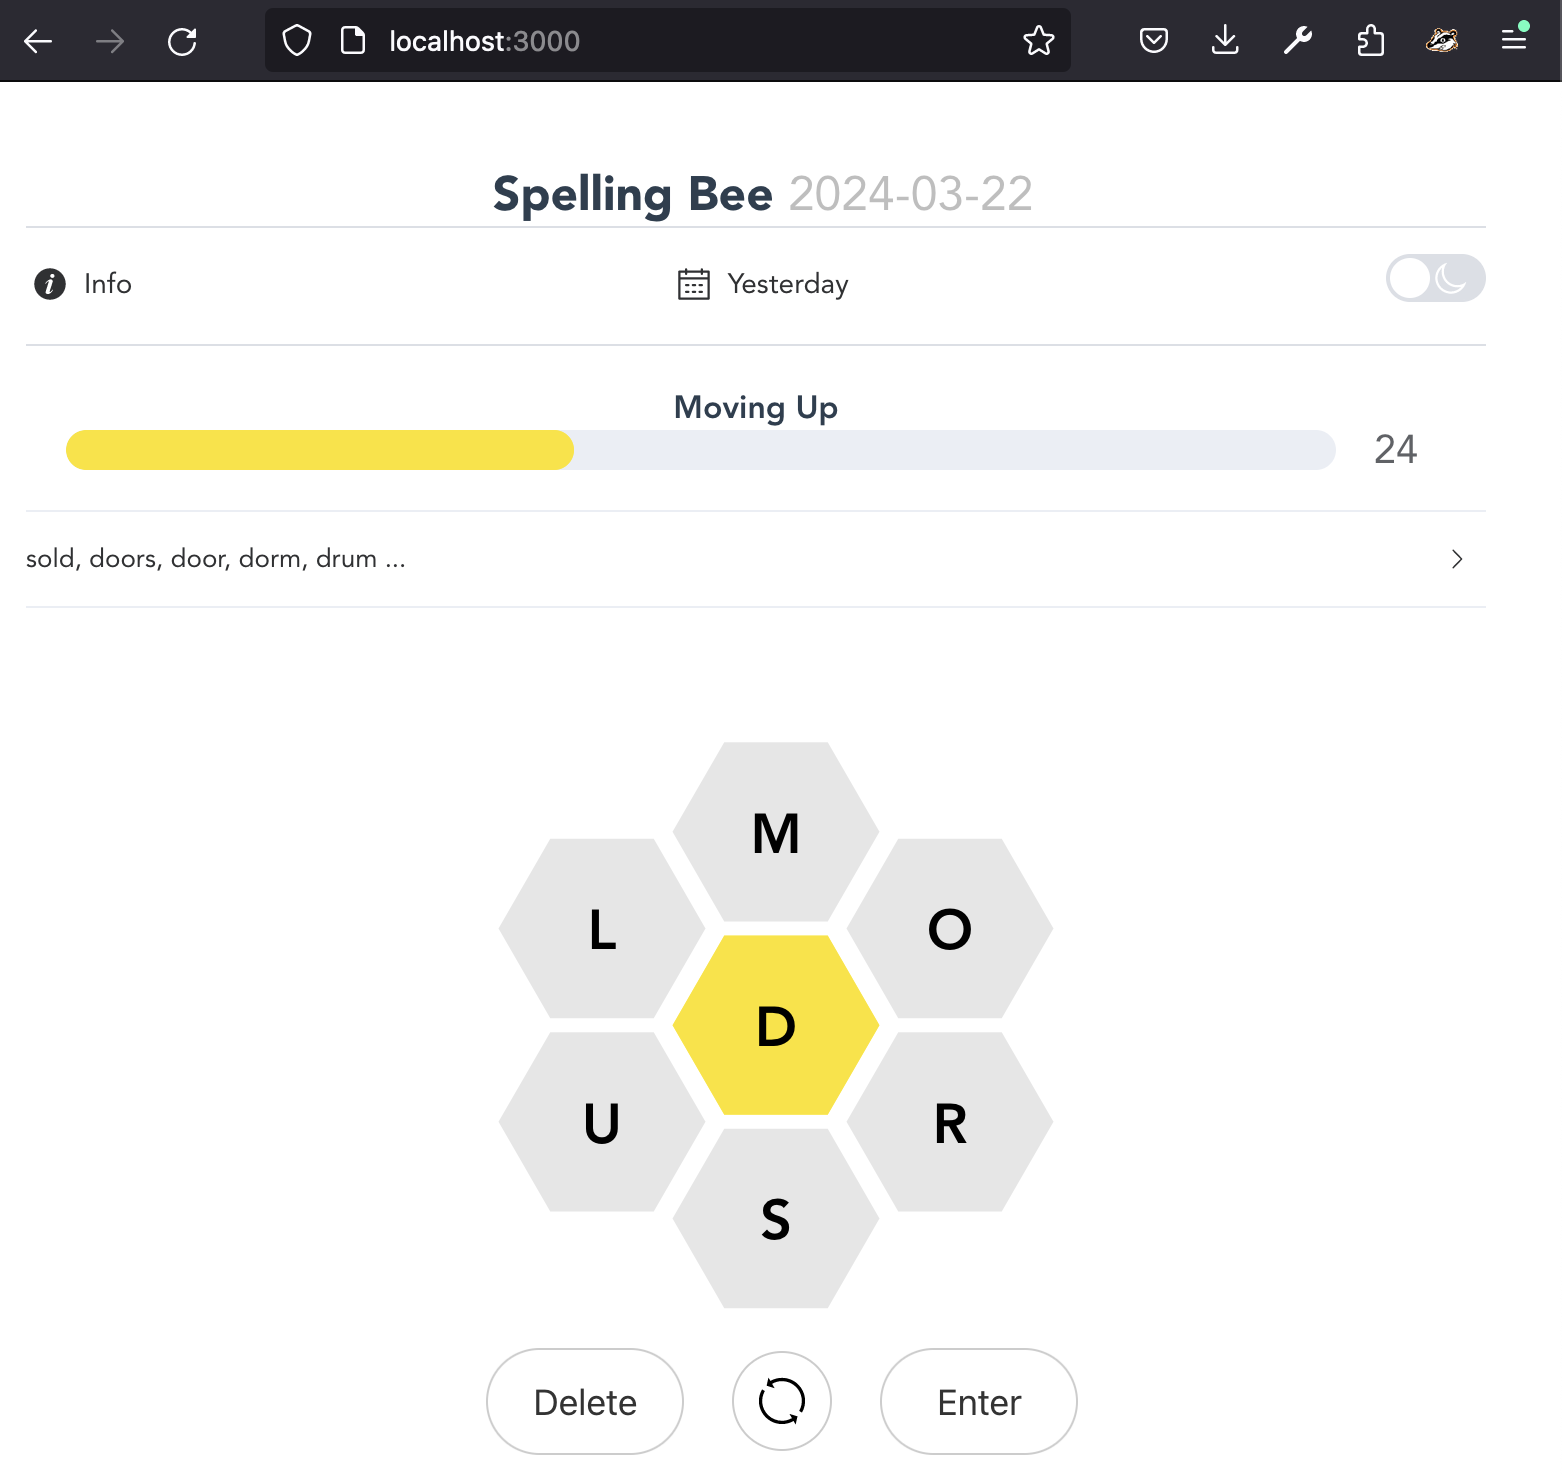
There’s a great Yarn project on GitHub that’s an open source spin on a certain popular honeycomb-shaped word game with Vite. In this tutorial, I’ll be writing a Dockerfile for that particular project, but these instructions can be abstracted to work on other simple Yarn projects.
Step 1: Choosing a base image
We’ll start with finding a base image to build upon for this project. I chose Node Alpine because it’s lightweight (Alpine Linux-based) but still includes Yarn and any necessary binaries for Node-based applications. This is highly preferable to using an untagged or latest base image, as you want to ensure you’re using the same exact version every time to guarantee consistent performance.
FROM node:21-alpine3.19
Step 2: Setting a working directory
Here, we will define the working directory within the container. All paths mentioned after will be relative to this.
WORKDIR /app
Step 3: Installing dependencies
Yarn defines and manages dependencies with its lockfile and the project’s package.json. We’ll copy just these two files over to the container’s working directory and run yarn install.
COPY yarn.lock package.json ./

RUN yarn install
Step 4: Copying remaining contents
Now that all dependencies are installed, we can copy the remaining assets to the working directory. If you don’t want certain files to copy over, include them in the .dockerignore file.
COPY . .
Step 5: Exposing the open port
In this example, I’m Dockerizing a Vite app, which defaults to port 3000. This is simply for documentation; it doesn’t actually actively do anything.
EXPOSE 3000
Step 6: Executing the startup command
Here, I’m running the dev command. You can edit what this command does in the project’s package.json. Set the host option to 0.0.0.0 here (or alongside the dev command in package.json) to enable access to the app from outside the container.
CMD ["yarn", "dev", "--host", "0.0.0.0"]
The resulting Dockerfile
And there we have it — a pretty typical Dockerfile customized for a Yarn project. You may want to modify it to fit your specific project, or use it right out of the box with this repo.
FROM node:21-alpine3.19

WORKDIR /app

COPY yarn.lock package.json ./

RUN yarn install

COPY . .

EXPOSE 3000

CMD ["yarn", "dev", "--host", "0.0.0.0"]
Writing the Docker Compose file for a Yarn project
Any Docker project really isn’t complete without a Compose file. This enables you to define your Docker config options so you can run docker compose up instead of copy/pasting complex docker build and docker run commands. We’ve already done the heavy lifting in the Dockerfile, so this part is quite simple and standard.
Step 1: Defining the service
After setting the Compose version, you’ll want to define a single service with a name you find relevant to your project. Since this project only has one Dockerfile, we only need a single service.
version: '3.9'

services:
  spelling-bee:
Step 2: Setting build context
The build context is the path that defines what the build has access to. In this case, we want to include the entire repo within the build, so we’ll set the context to . (which is also the default).
 build:
   context: .
Step 3: Setting ports
Here, we’ll map the host port to the container port. In this case, they’re both 3000. This means you’ll access your app via localhost:3000 and any requests made will be forwarded to the container at port 3000.
ports:
  - '3000:3000'
Step 4: Adding volumes
The volumes option shares data between the host machine and the containerized app. This will persist any data created while the container is running, so next time you spin it up, you’ll see your app just as you left it. Any changes you make locally to files within these volumes will also be reflected in your container (eg. adding something to the database, editing a template file, etc.).
The syntax for a volume will be the directory’s local path in your project, followed by a colon, followed by where you’re mounting the directory within the container.
volumes:
  - './src:/app/src'
  - './data:/app/data'
The resulting Compose file
And that’s all you need — you now have a highly-portable Docker Compose project.
version: '3.9'

services:
  spelling-bee:
    build:
      context: .
    ports:
      - '3000:3000'
    volumes:
      - './src:/app/src'
      - './data:/app/data'
Developing the project with Docker Compose
Now that you have a Docker Compose file, you can launch Docker and run the project locally with the docker compose up command. As long as you’re still defining your host port as 3000, you can access the application live at localhost:3000. Since we have the src and data directories mounted as volumes, any changes you make locally will be reflected in the container.
Bonus: Developing the project with ephemeral environments
If you want on-demand preview environments every time you open a PR on your project, there’s a quick and easy way to do that. Since this app is now defined with Compose, you can preview your code changes in full-stack, production-like environments with Shipyard. Here’s how you can do it:
- Kick off a 30 day free trial of Shipyard
- Connect your git provider
- Create a new application and set your base branch
- Every time you open a PR, a new environment will automatically spin up
Tying it all together
Arguably, one of the greatest places to start Dockerizing is with an existing app that builds with a package manager. This way, the config is already taken care of, and you can just simply insert your specific install, build, and run commands into the classic Dockerfile format. Yarn is one of the greatest examples of how elegant and effortless Docker configurations can be. Now you can enjoy your Yarn app at every stage of the SDLC, courtesy of containers.
Want to chat Docker, Docker Compose, Yarn, or anything else dev-related? Join the Shipyard Community Slack.